Insulation Advice for Specific Window Types
Windows come in all shapes and sizes, many with little peculiarities that make insulating them difficult but still necessary, as after all, replacing cold windows can be extremely expensive, messy and undesirable for many listed or period properties.
This page is an introduction to extra insulation for common window types, in a bid to help you identify issues and get started. Where possible there is a video to illustrate relevant points, otherwise see the image alongside the text, and visit our Customer Gallery where there are additional customer images for the window types covered.
Over the years we have been able to offer practical advice to thousands of customers. To do so, it helps for us to see features and difficulties in your windows, so as well as using this site to research the different systems available, take some decent pics and send them to us with your queries and we’ll take it from there.
Sash windows
Many properties have large, single glazed and very draughty old sash windows. There are different styles and sizes, but there are certain common features:
– many are subject to listed or conservation area restrictions which generally permit unobtrusive secondary glazing
– as an alternative, cost of replacement is enormous, in heritage or modern styles
– best to insulate the whole cavity to cover glass and draughty frames. This may need a jointed panel for size and convenience
– there are huge energy savings to be made from fitting secondary glazing
– the outer window will benefit from additional draught-proofing
Although many sash windows have a suitable fixing area for magnetic secondary glazing or a Trackglaze Vertical sliding fitting on all 4 sides of the surround, just beyond the staff bead, some don’t, or there are shutters, window fittings or blinds in the way. If you can’t work out where or how to apply secondary glazing, we will offer advice but ideally, need first to see images of the window and whatever is complicating the insulation.
uPVC Double Glazed Windows
We are regularly asked how to reduce noise through uPVC double glazing, both for constant traffic or sudden noises like barking dogs or vehicles with sirens. Double Glazing is usually a good product to start with, so the gains you can make are less dramatic, but can still be the difference between being woken up and sleeping soundly. Some common features to bear in mind about uPVC windows:
– Handles stick out and restrict the areas on which Secondary Glazing can be installed. If you can fit a system beyond the handles this can be a good insulator for noise because of the large air gap
– Try to avoid screwing into uPVC units as they normally have metal sub-frames. For fixing directly onto them use adhesive systems only (uPVC provides a good surface for this)
– Because the finish is usually white, it is relatively easy to fit Secondary Glazing that blends in with it.
Take a look at our video showing a successful Easyglaze installation on uPVC windows.
Crittall Style Metal Framed Windows
A lot of older, listed and conservation properties have Crittall and other metal windows. Usually single glazed, they also lose heat through the frames, especially if opening panes have warped.
To insulate, screw systems are not an option and you need to avoid handles and hinges, so if the metal windows are not already in a wooden outer frame, the best option can be to fit one in the internal window cavity. Leave a suitable gap to the outer windows, giving a wide choice of unobtrusive insulation systems you can fit.
Bear in mind that there are significant comfort and heating bill gains to be made, and that secondary glazing is effective and substantially cheaper than replacement windows, resulting in relatively quick payback on the investment.
Bay and Bow windows
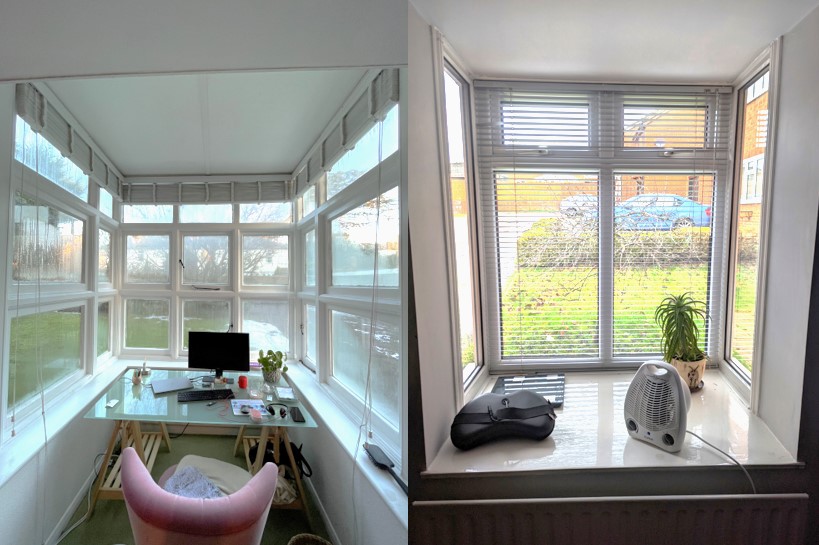
These windows are popular for bringing more light into a room, and providing better views out. This is achieved with extra panes that project or fan out, but more glass means more heat loss and any outside noise coming in.
Box Bay windows are generally 3 sided with 90 degree corners, but often these corners will have decorative or curved beading and lack a suitable surface on which to fix secondary glazing. A simple wooden batten may provide this, to make them suitable for magnetic panels. Given that Box Bays protrude from the house, they are especially vulnerable to cold winds and poor insulation of the often wooden structure and flat roof.
Bow windows form a curve with each pane at an angle of 10 degrees from its neighbours. They typically have a shallow sill and no cavity to work in, limiting secondary glazing options to fitting on the outer frames only, handles and fittings permitting. This suits an adhesive system such as Easyglaze, or magnetic panels if preferred.
Skylight and Velux windows
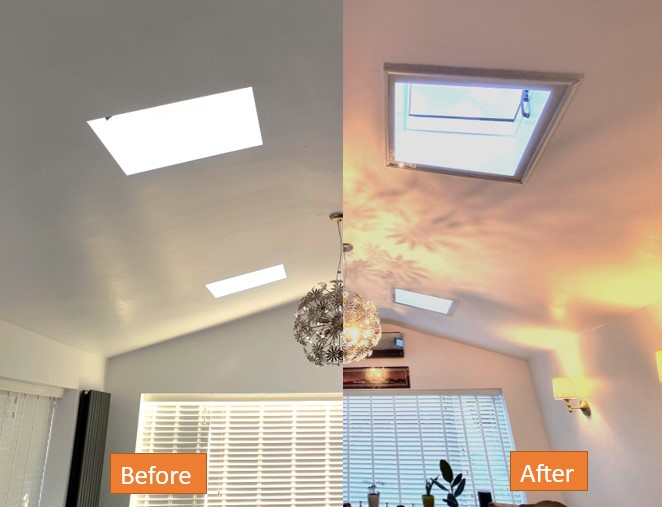
Windows fitted into overhead surfaces, however well-made, generally lack the depth of insulation of the surrounding roof. Given that hot air rises, this can turn them into heat-sinks, and they are also susceptible to noise from heavy rain and hail. Insulating overhead windows presents the obvious challenges of fitting secondary glazing, and making sure it stays there, given that gravity is acting against you. Consequently, we can offer this basic advice:
– never use glass panels, as the risks during installation and removal are not worth it. Polycarbonate glazing sheet is the best choice as unlike Acrylic, it will never break if dropped, and is half the weight of glass
– never use magnets for attaching an overhead window, however strong. Despite being more difficult to fit, screws are the best method of fitting an overhead panel e.g. with Superglaze
– the safest way to install secondary glazing is with 2 persons from a decent raised platform
Velux windows are often more accessible from floor level, being designed for instant ventilation and closure. Any insulation will therefore need to be easily removed and replaced, making Clipglaze a good option, but again using plastic sheet only.
Stone Mullioned windows
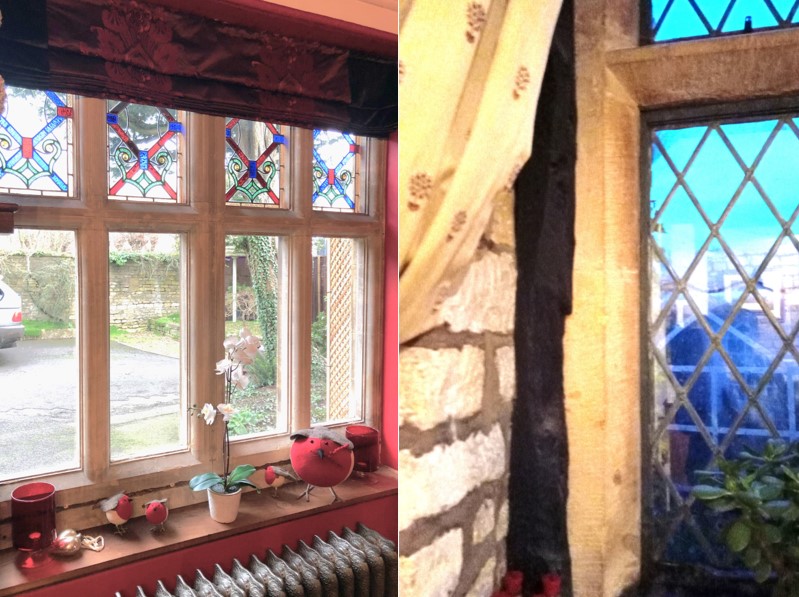
These windows can be prime candidates for insulation, with thin glass often in leaded panes that are draughty in themselves. However, they present a few unique challenges:
– the stone can have a loose friable surface, which you can test by rubbing it with your fingers – if they get dusty, then the surface will probably come away if you use an adhesive product on it, and your fitting can fail
– some types of stone can be porous as well, allowing damp to permeate through behind secondary glazing, causing condensation
– the stone is usually shaped to present narrow flat surfaces that can limit your choice of insulation system (see the image as an example)
You may be able to seal both the stone (and any leaded panes) with a clear polyurethane product, which can then take adhesive for magnetic panels. If preferred, a batten can be attached on all sides, but screw holes will be irreversible in the stone. Failing these methods, if the stone window frames are within a suitable cavity, Trackglaze horizontal sliding can be considered.
Arched and Circular windows
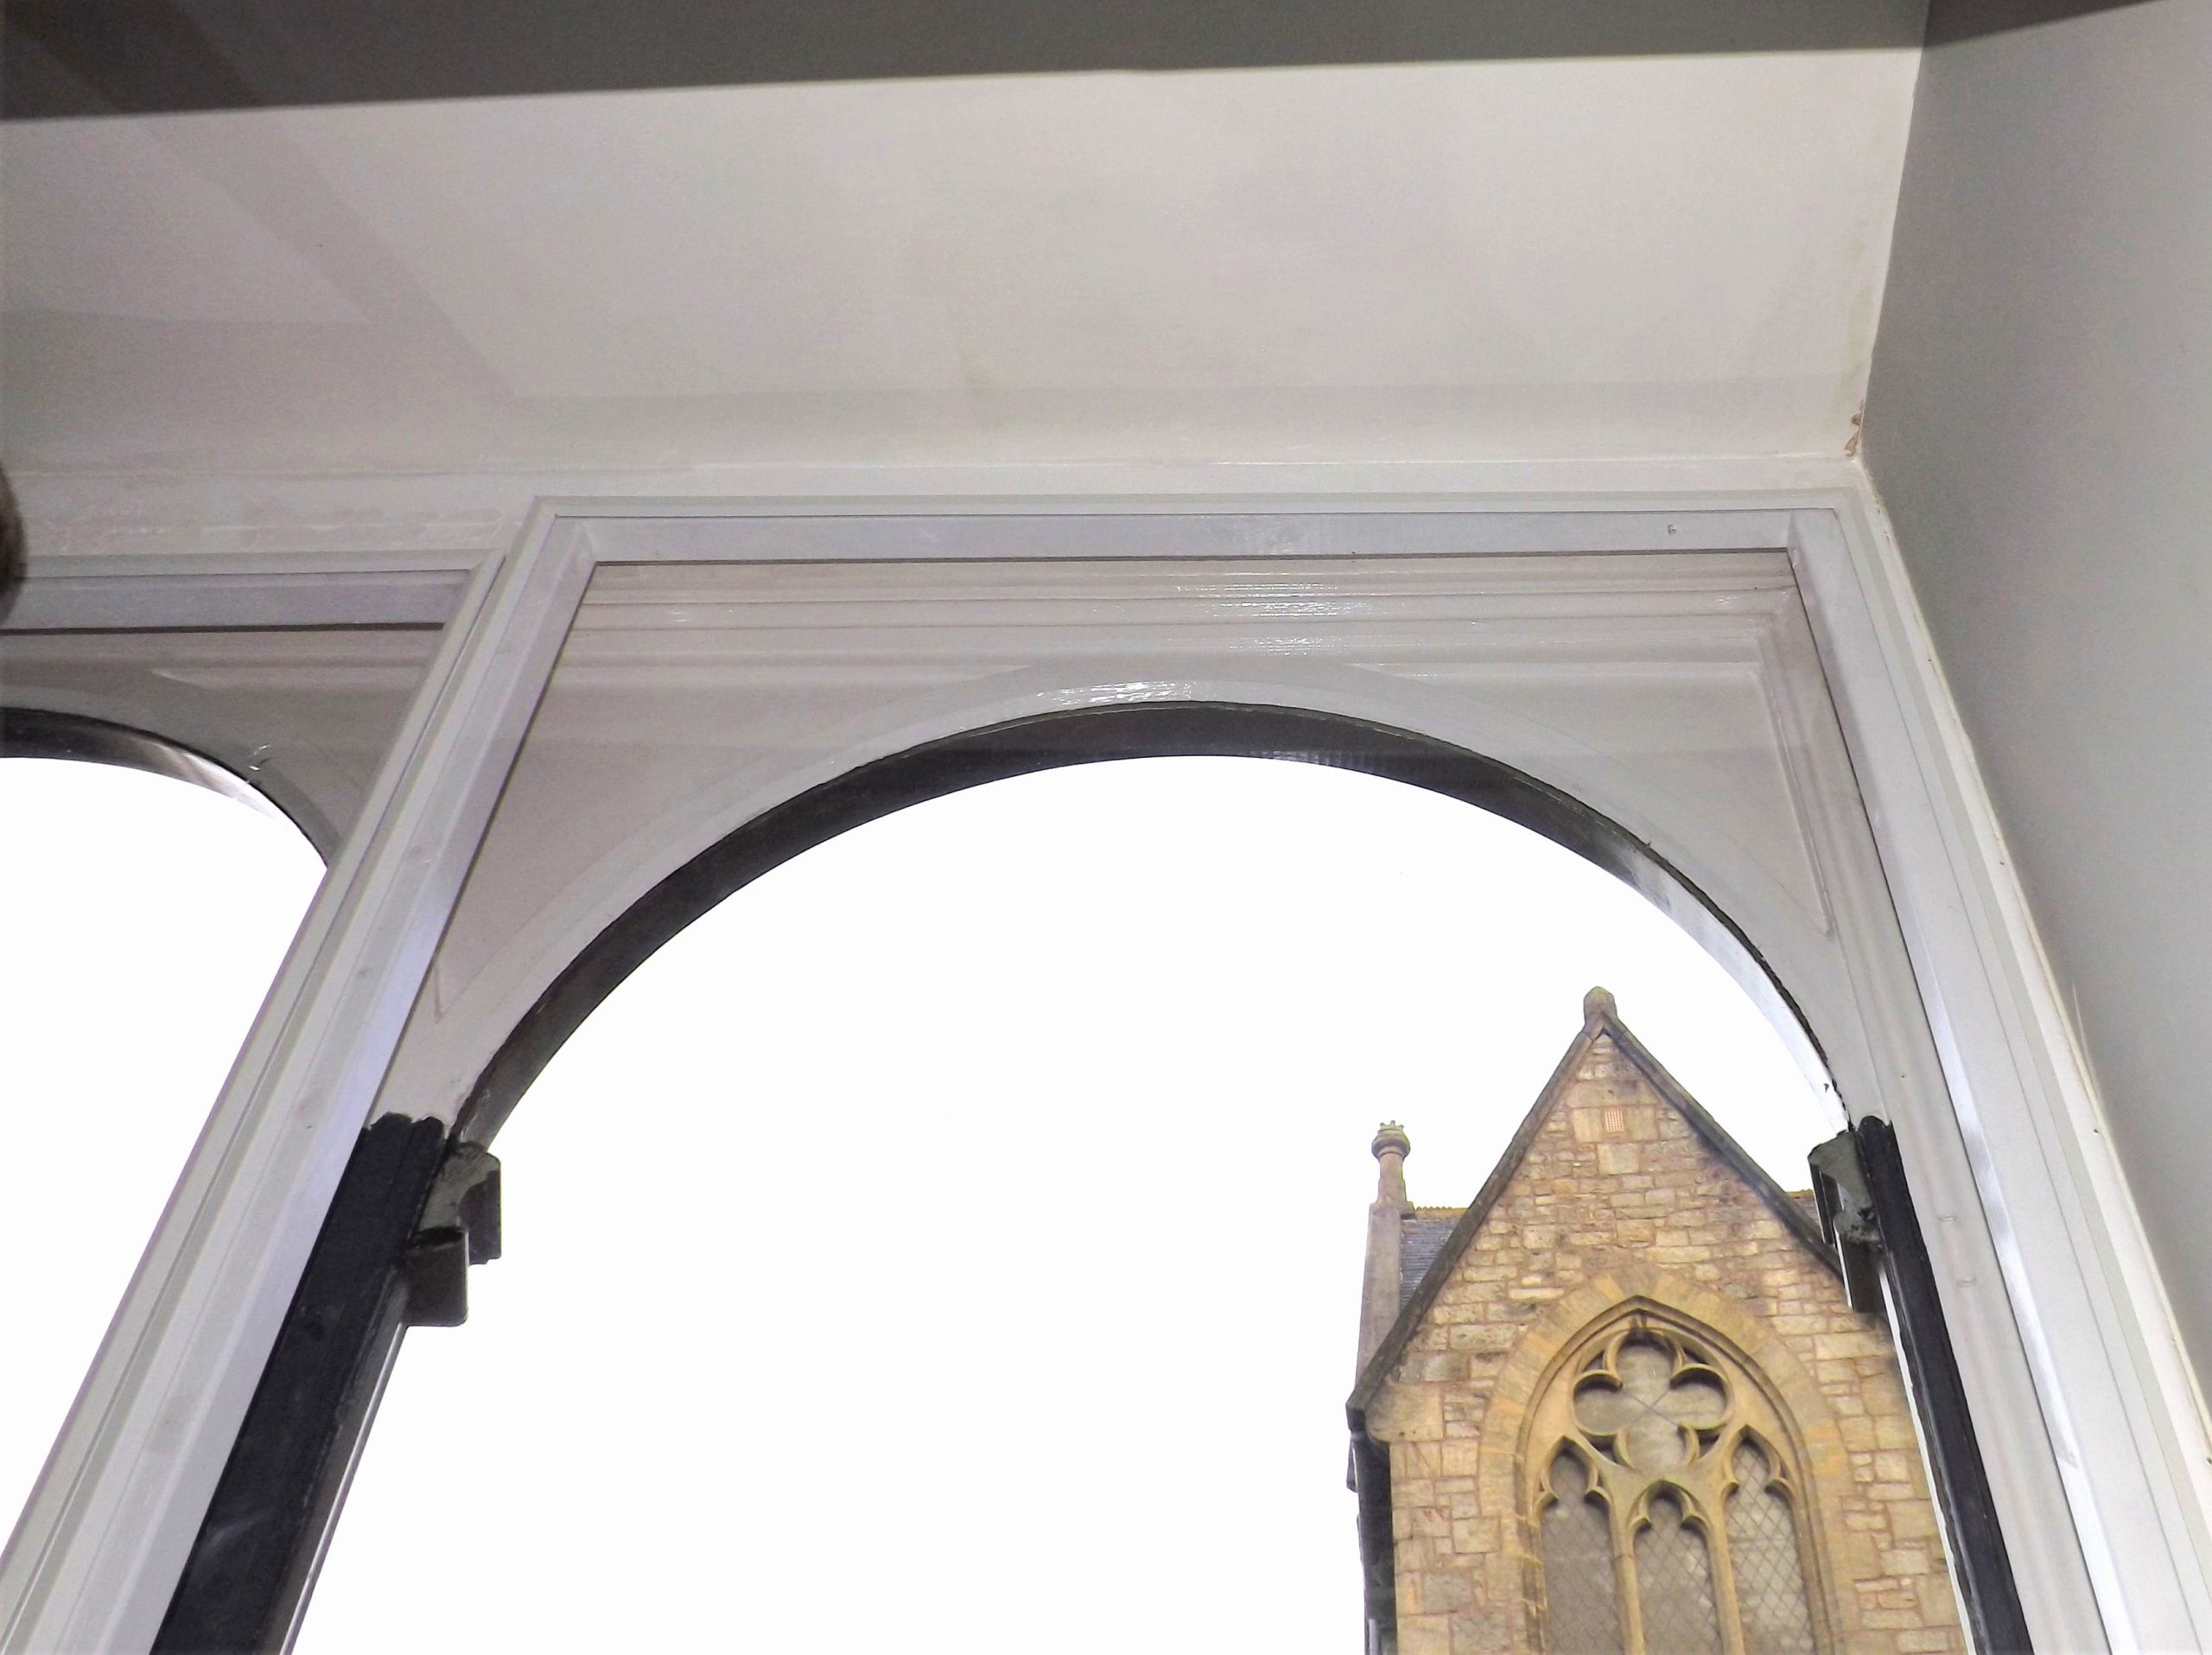
Non-rectangular windows are difficult to secondary glaze with any kind of rigid edgings. To apply these to a curved pane, you would need to cut many small lengths and mitre them together – a lot of work that is unlikely to look good when you are up close, and the edgings are arranged like the edges on a 20p piece. There are two main options therefore for such windows:
– cover the whole window and parts of the surround with a rectangular secondary pane, as in the image shown. If space allows and the edgings match the decor, this is a good work around, especially as you will have to order a rectangular sheet for it anyway
– use a flexible edging system, such as Clipglaze, which will accommodate any radius, although the sides of the flexible channel will flare out around a curve so you have to take small V shaped nicks out of it to make the panel lie flat
To use a shaped panel, first choose the system to use, add whatever overlap the sheet needs then order a rectangle to cover this. Make a paper template of the window, to use when you come to cut the final shape with a jigsaw, but before this, practice cutting in a corner that will be surplus, to get the feel of the sheet material. Use the template to draw on the protective film of the sheet, then cut, making sure not to let the sheet vibrate, and if in doubt, cut a little larger as the sheet can be planed or sanded on the edges if too big – if the panel is cut too small you might need to start again.
For a large arched window, you could divide into rectangle + arch by adding a batten, and create an opening pane if required.


